
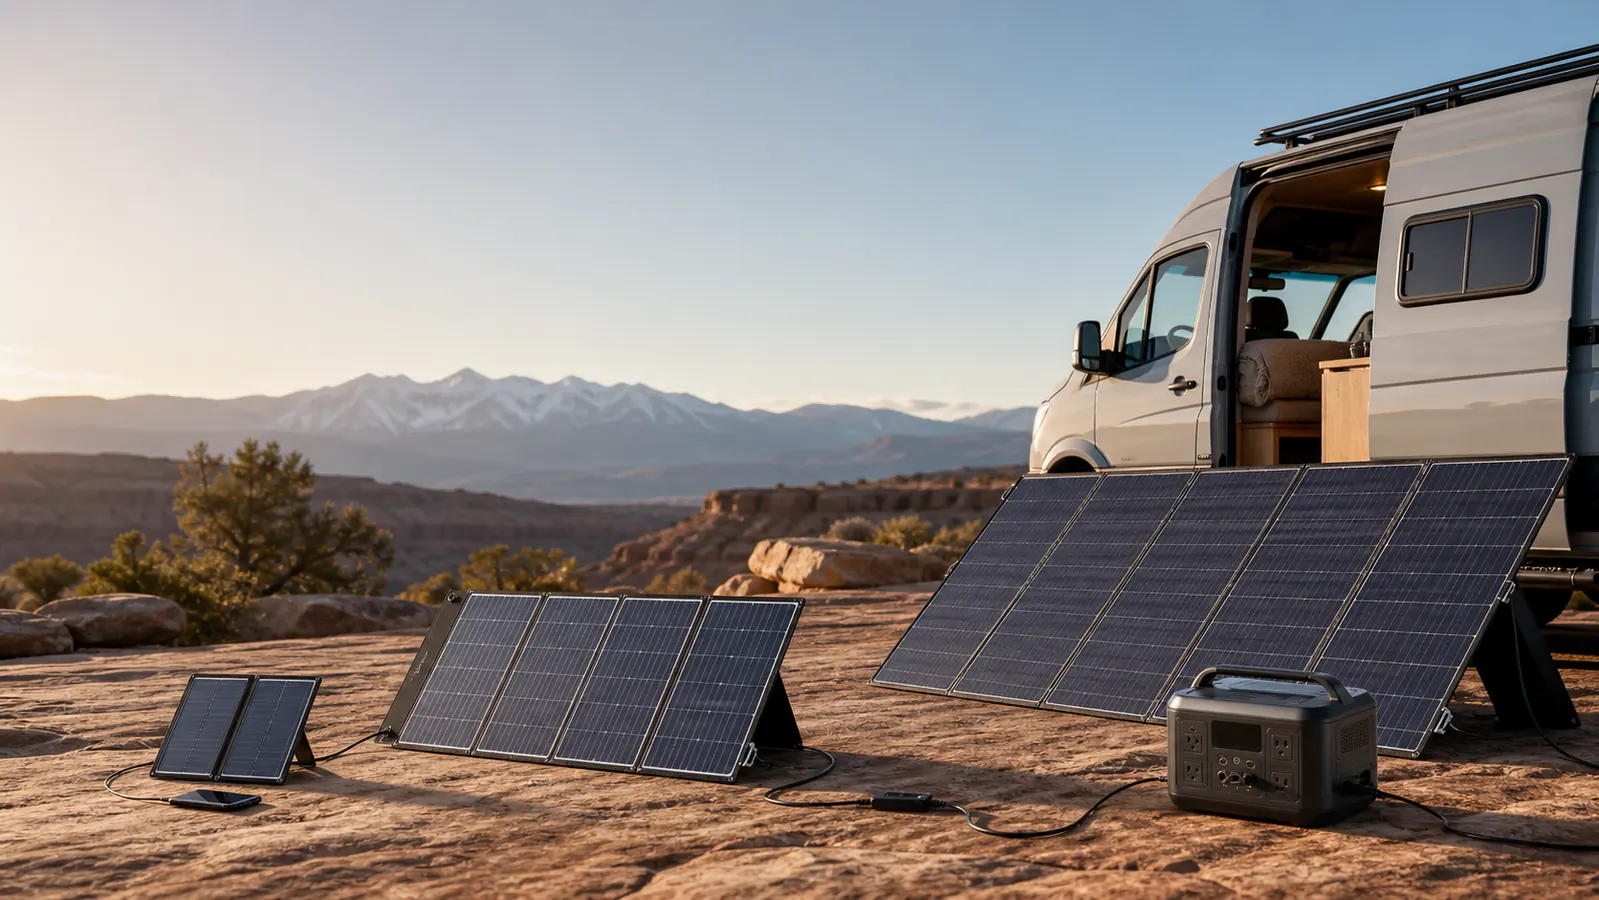
How to Choose a Foldable Solar Panel
Match wattage, voltage, connector, packed size and outdoor durability to the device—or power station—you actually need to charge.
Choose the system, not just the wattage
A foldable solar panel is only useful when its electrical output, connector and portability match the equipment around it. The best starting point is the load you need to support and the input limits of the receiving device.
For a phone on a day hike, a compact USB panel may be the most efficient answer because low weight matters more than maximum output. For a power station at a campsite, a higher-wattage panel can shorten charging time—but only if the station accepts the panel’s voltage, current and connector. For an OEM project, packed dimensions, cable configuration, materials and labeling can be just as important as rated power.
1. Calculate the energy you need
Device power is measured in watts (W). Energy use is measured in watt-hours (Wh). Multiply each device’s watts by the number of hours it will operate, then add the results.
Device watts × hours used per day = watt-hours per day
For example, a 60W laptop used for four hours needs about 240Wh before system losses. Solar production varies with sun intensity, panel angle, shade, temperature, cable loss and charging electronics, so rated panel wattage should not be treated as a guaranteed continuous output.
A useful planning estimate is:
Daily Wh ÷ effective peak-sun hours ÷ system efficiency
If the load requires 300Wh per day, the location provides four effective peak-sun hours and the planning efficiency is 75%, the starting estimate is roughly 100W. Build in an appropriate margin when reliability matters, but do not exceed the receiving device’s allowed voltage or current.
2. Match the wattage range to the application
| Panel range | Typical role | Best suited to | Primary buying priority |
|---|---|---|---|
| 6W–20W | Direct charging and emergency top-ups | Phones, GPS devices, lights and small USB electronics | Low packed weight, USB/Type-C convenience |
| 30W–60W | Travel charging with more output | Multiple handheld devices, tablets and compatible small batteries | Balance of portability and usable charging power |
| 80W–125W | Portable off-grid energy | Small power stations, camping, mobile work and backup kits | Voltage/connector compatibility and setup angle |
| 150W–200W | Faster power-station charging | RV travel, extended camping and larger portable batteries | Solar-input ceiling, packed dimensions and handling |
| 300W–400W | High-energy portable systems | Large power stations, off-grid backup and professional field use | 36V system matching, deployed footprint and transport weight |
These are application guidelines rather than charging guarantees. Always verify the exact device and panel specifications before purchase or system integration.
Compact solar chargers for lightweight, direct device charging.
Explore compact solar chargers →Portable foldable panels that balance transport size and useful output.
Explore portable solar panels →High-power arrays for power stations, RVs and off-grid backup.
Explore high-power panels →3. Check power-station compatibility
Do not assume that any panel will work with any power station. Read the station’s manual or input label and compare every required value.
- Input voltage range: the panel’s working voltage must fall within the station’s accepted solar or DC input range.
- Maximum open-circuit voltage: the combined panel voltage must remain below the station’s absolute limit, including series connections and cold-weather voltage rise.
- Maximum input current: parallel configurations may increase current beyond what the controller accepts.
- Maximum solar input power: excess panel wattage cannot make the station charge beyond its input ceiling.
- Connector and polarity: confirm the physical plug, adapter, positive/negative orientation and cable rating.
- Controller requirements: direct battery charging normally needs a suitable solar charge controller; a bare panel should not be connected blindly to a battery.
4. Select the right output and connector
Compact panels commonly prioritize regulated USB-A or USB-C outputs for small electronics. Mid-range portable panels may add DC outputs or adapters. Higher-power models typically use purpose-built DC connectors, Anderson-style connectors or other power-station-compatible interfaces. The connector does not determine electrical compatibility by itself; it only completes the physical connection.
For a commercial product program, specify cable length, wire gauge, connector standard, polarity, adapter set and whether the charging controller is built in or supplied separately. A clear connector specification reduces returns and installation errors.
5. Compare portability with deployed performance
Rated watts tell only part of the story. Compare both folded and unfolded dimensions, net weight, handle construction, number of folds, kickstand design and setup time. A large panel that is difficult to position may produce less useful energy than a smaller panel that can be aimed correctly and moved as the sun changes.
- For hiking: prioritize weight, packed volume and simple direct charging.
- For car camping: prioritize stable kickstands, cable reach and fast setup.
- For RV use: check storage dimensions, wind management and power-station matching.
- For emergency backup: choose a format that can be deployed quickly and stored safely for long periods.
- For distribution: consider carton quantity, individual packaging and shipping weight alongside the product itself.
6. Evaluate construction and outdoor use
Cell type, surface material, fabric, stitching, hinges, junction box, cabling and edge protection all affect long-term usability. Monocrystalline cells are widely used where high output per area is important. Surface constructions such as ETFE or PET involve different trade-offs in abrasion resistance, weight, appearance, cost and service conditions.
Water-resistance claims also need careful reading. A panel intended for outdoor use is not automatically suitable for submersion, permanent roof installation or unattended exposure to severe weather. Ask what the rating covers: panel surface, junction box, connectors, controller and storage bag may have different limitations.
7. Use an OEM/ODM procurement checklist
For a private-label or project order, a good quotation starts with a controlled specification rather than a wattage request alone.
Define the market and use case
State the target country, sales channel, end user, devices to be charged and expected outdoor conditions.
Lock the electrical requirements
Confirm rated power, voltage, current, connector, cable and controller strategy against the target equipment.
Approve physical specifications
Record folded size, open size, net weight, materials, color, handle, stand and accessory set.
Define customization
List logo position, label data, packaging, manual language, barcode and any project-specific artwork.
Verify before volume production
Review samples, measured output, workmanship, compatibility, packing method and required compliance documentation.
Common selection mistakes
- Buying by the largest wattage number without checking the charging device’s input limits.
- Using a matching connector while ignoring voltage, current or polarity.
- Estimating charging time from rated watts without accounting for real operating conditions and conversion losses.
- Comparing open panel size but forgetting whether the folded product fits the vehicle, backpack or retail carton.
- Treating a water-resistance rating as permission for permanent outdoor exposure.
- Ordering an OEM product before confirming the sample, label, packaging and accessory specification.
Foldable solar panel FAQ
What size foldable solar panel do I need?
Calculate the daily watt-hours of your devices, divide by realistic effective sun hours, allow for system losses, and then check the receiving device’s voltage, current and maximum solar-input limits. Portability and available setup area may narrow the final choice.
Can a foldable solar panel charge a power station?
Yes, when its operating voltage, open-circuit voltage, current, connector and polarity are compatible with the power station. Check the power station manual before connecting a third-party panel.
Does a 200W panel always produce 200W?
No. Rated output is measured under standardized test conditions. Real output varies with sunlight, angle, shade, cell temperature, dirt, cable losses and the receiving system.
Is a higher-wattage panel always better?
No. Extra wattage adds size, weight and cost, and a power station cannot use more than its permitted solar input. The best choice is the wattage that meets the energy goal while remaining compatible and practical to carry.
What information should an OEM buyer provide?
Provide target wattage and voltage, application, connector, cable, folded/open dimensions, material preference, accessories, branding, packaging, target market, order quantity and required compliance documentation.
Need help matching a panel to your application?
Share your target device, input specification, wattage range, connector, packed-size goal and order plan. Itradey can help evaluate a standard 6W–400W format or discuss an OEM/ODM configuration.
Discuss your project